


Aperture videos
Unfortunately I don't have aperture because it is only made for a Mac but fortunately I have Adobe Photoshop Lightroom which is VERY similar. The third video down talks about adjusting your exposure. I figured out how to change the hot and cold spots using lightroom...
For Lightroom:
1. Right click the histogram in the top right corner and then click "show clipping" or press J. You will then see red and blue (hot and cold) overlays.
2. To adjust the hot spots go to the right of the histogram until you see the word "recovery" just bellow the histogram. Left click the recovery side of the histogram and drag until the red areas disappear.
3. To adjust the cold spots go to the left side of the histogram until you see the word "blacks" bellow. Left click the blacks side of the histogram and drag until the blue areas disappear.
4. Then adjust your exposure to how you would like it :)
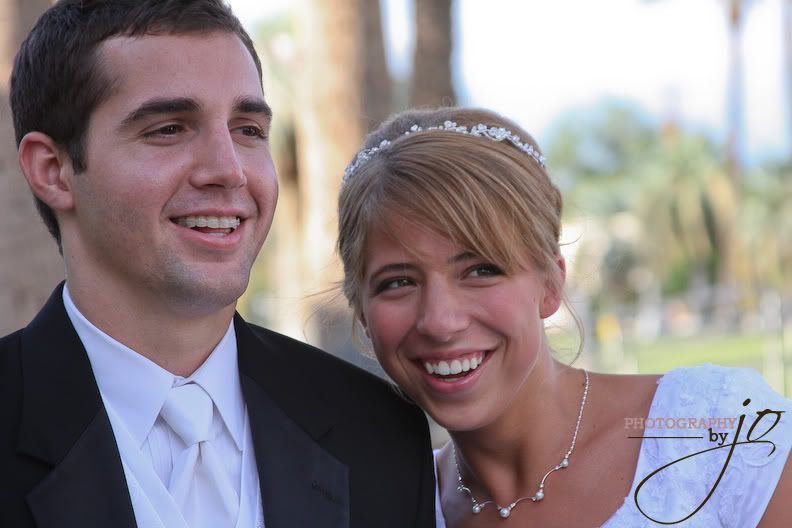
Here is my example (I just picked a random picture from the bridals I just took):
This is the image before doing any processing...
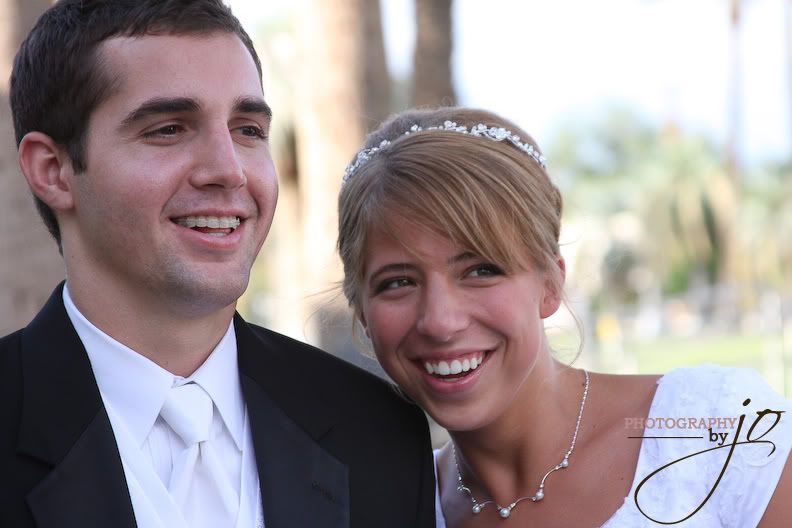
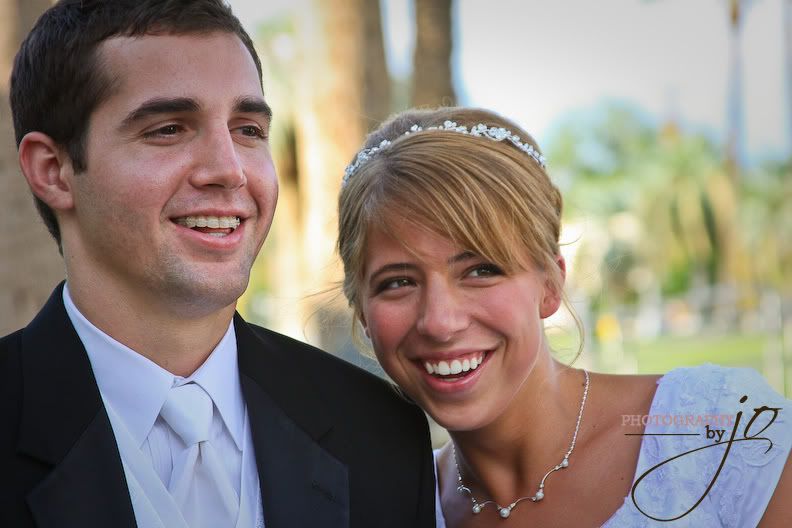
As I changed the exposure I was able to bring out some more detail in the image... you can see it in the dress and in the trees.
Here is the image after doing a little more processing (hue, saturation, sharpening, clarity, white balance, etc.) I'm not perfect at this but someday ;)
This is the image before doing any processing...
As I changed the exposure I was able to bring out some more detail in the image... you can see it in the dress and in the trees.
Here is the image after doing a little more processing (hue, saturation, sharpening, clarity, white balance, etc.) I'm not perfect at this but someday ;)


1 comments:
The pictures look great! Thank you for the photo tips! I love them :)
Post a Comment